Here we will go through the steps to building a raised bed for your vegetables. With a little care and a personal touch, you can end up with a lovely garden tailor-made for you and by you.
Video 1 : How to build your vegetable garden :
- Select nice straight pieces of 2×8 lumber. We use hemlock planks as they are as durable as cedar but cost much less. Do not use spruce or pine planks, as these do not last nearly as long.
- Cut the pieces to your chosen dimensions. If you want a garden box that is longer than 10 feet, you will need additional bracing inside the box to prevent the sides from bowing. Do not make your box more than 4 feet wide, as you will not be able to reach the middle of the garden without stepping inside – and you never step inside!
- Stain your wood with a cloth then wipe it off; let dry then repeat for a rich colour. Or, for a more weathered look, leave the wood bare.
- Use 3-inch construction screws or corner brackets and L brackets to assemble your box. Make sure your bracket covers both pieces you are attaching.
- If you are installing your garden in the vicinity of very large trees, you may want to lay the bottom of your box with geo-textile fabric to prevent the tree roots from taking over your garden.
- Now that your box is built, you need to prepare your soil. You can use our own custom soil blend, or prepare your own: 1 part compost, 1 part vermiculite or perlite, 1 part peat moss or coconut coir, 1 part gardening soil blend. This will result in a rich, light and very absorptive blend with a pH balance of around 6.5-7. You can substitute worm castings for the compost in the blend.
- Once your soil blend is in the box, it’s useful to have a grid over the soil to facilitate spacing of the seeds and seedlings. A quick and easy method is to staple 100% cotton string with 1-square-foot spacing (synthetic string will shrink in extreme heat and snap). Staple the ends of your string to the box then tie a little knot after the staple and trim.
Video 2 : How to install your trellis frame
- Now you need to install your trellis frame. Drive a three-foot piece of half-inch iron rebar in the two north-facing corners inside your box. This will be the back row of your garden where you will install a trellis for the climbing/vining vegetables. You can purchase our ready-made trellis frame, or make your own, taking two pieces of electrical metal tubing and bending them 90 degrees at a height of six feet to form the frame. Connect the two pieces using a half-inch connector that can be bought in the same store as the tubing. You can also build your frame out of wood or any other material you desire, but the tubing and the connectors are very affordable. We use black-powder-painted tubing, but it is custom made for us and is not sold anywhere else. You can try and paint it yourself, but you will have varying levels of success as the tubing is zinc coated and paint does not adhere to it very well. If your garden is wider than eight feet, you will need a third piece of tubing and two connectors, and then use a hacksaw to cut a piece to connect the frame.
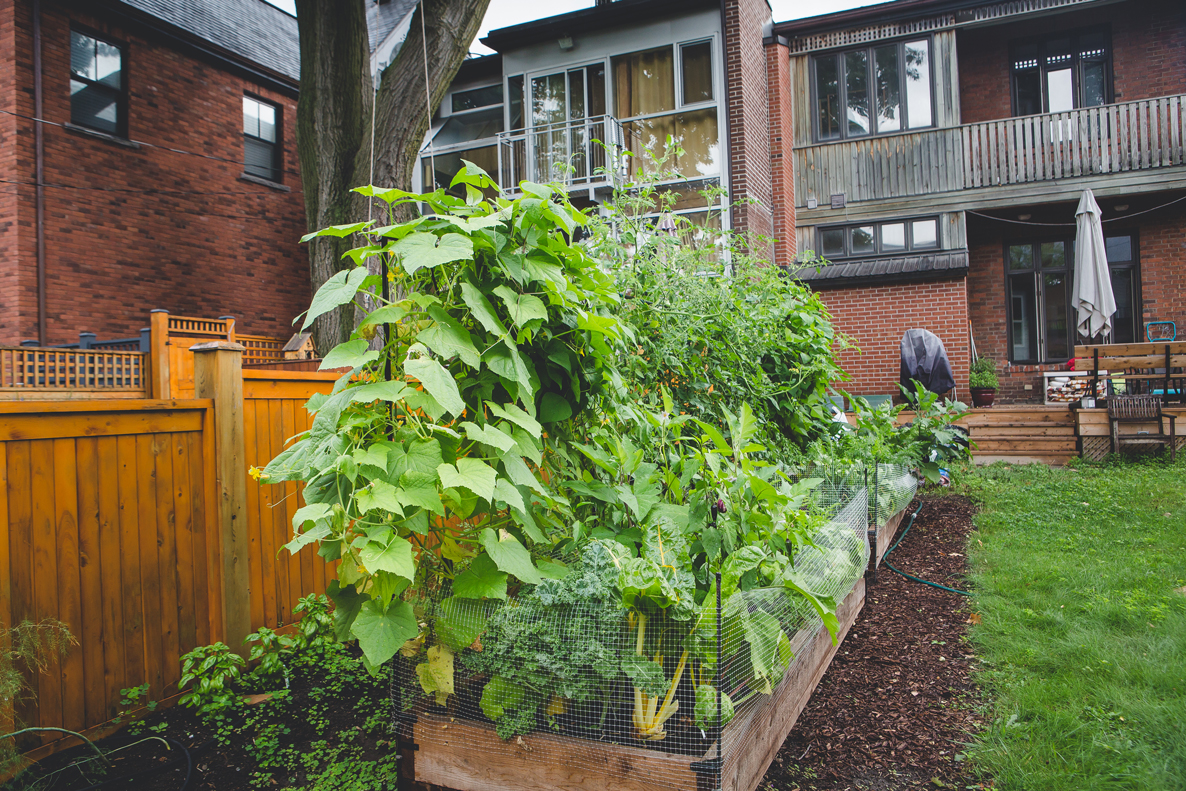
- Once the trellis frame is up you can attach the trellis netting. We use nylon trellis with a 6-inch grid, which is ideal for all kinds of climbing and vining vegetables and strong enough to handle their weight without strain. Attach the trellis to the frame using plastic tie wraps and trim the excess away for a clean and tidy finished look. Then plant your seeds and seedlings before installing your fence.
- Once your garden is planted, drive 3.3 foot pieces of iron rebar into the four corners outside your garden box. I recommend spray painting the rebar to prevent rust and to add to the aesthetic value of the garden.
Video 3 : How to fix your fence
- Attach plastic chicken wire fencing to the rebar, pulling as tightly as possible, and affix with plastic tie wraps, stapling along the bottom of the fence to the top of the sides of the box. You will want your fence to be at least 18 inches above the box. The benefit of a plastic fence is that it is not rigid enough to be climbable and will thus keep squirrels and other rodents out of your garden. Make sure that as your garden grows you do not let the leaves grow over the sides of the fence for groundhogs to nibble on. If they taste it they will find a way in, whether it’s over the top or through the bottom!
- Final steps: Enjoy your garden, water often, and eat well!