
Happy Holidays and best wishes for theNew Year We would like to take this holiday season as an opportunity to thank you so much for your support of Urban Seedling and our mission […]
Offer gardening as a gift!
Give the gift of vegetable gardening Gardening is not only a relaxing and enriching activity, it is also a great time to spend with your family, and an excellent gift […]
CALL FOR PROJECTS – CULTIVER L’AVENIR : DES JARDINS POUR APPRENDRE
Creation or improvement of educational gardens, the organisation 100 Degrés invites you to submit your projects! Are you a school, an early childhood education centre, a community organization, a municipality, […]
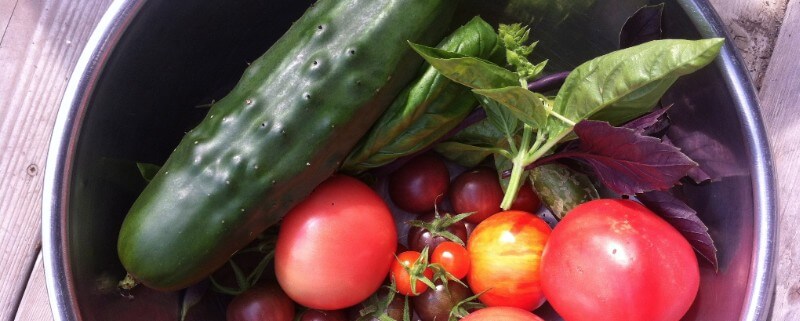
Frost in the garden!
Shocking but true! Here in Montreal there is a risk of frost tonight. Your leafy greens should be fine, but if you want to keep your tomatoes, peppers, eggplants and […]
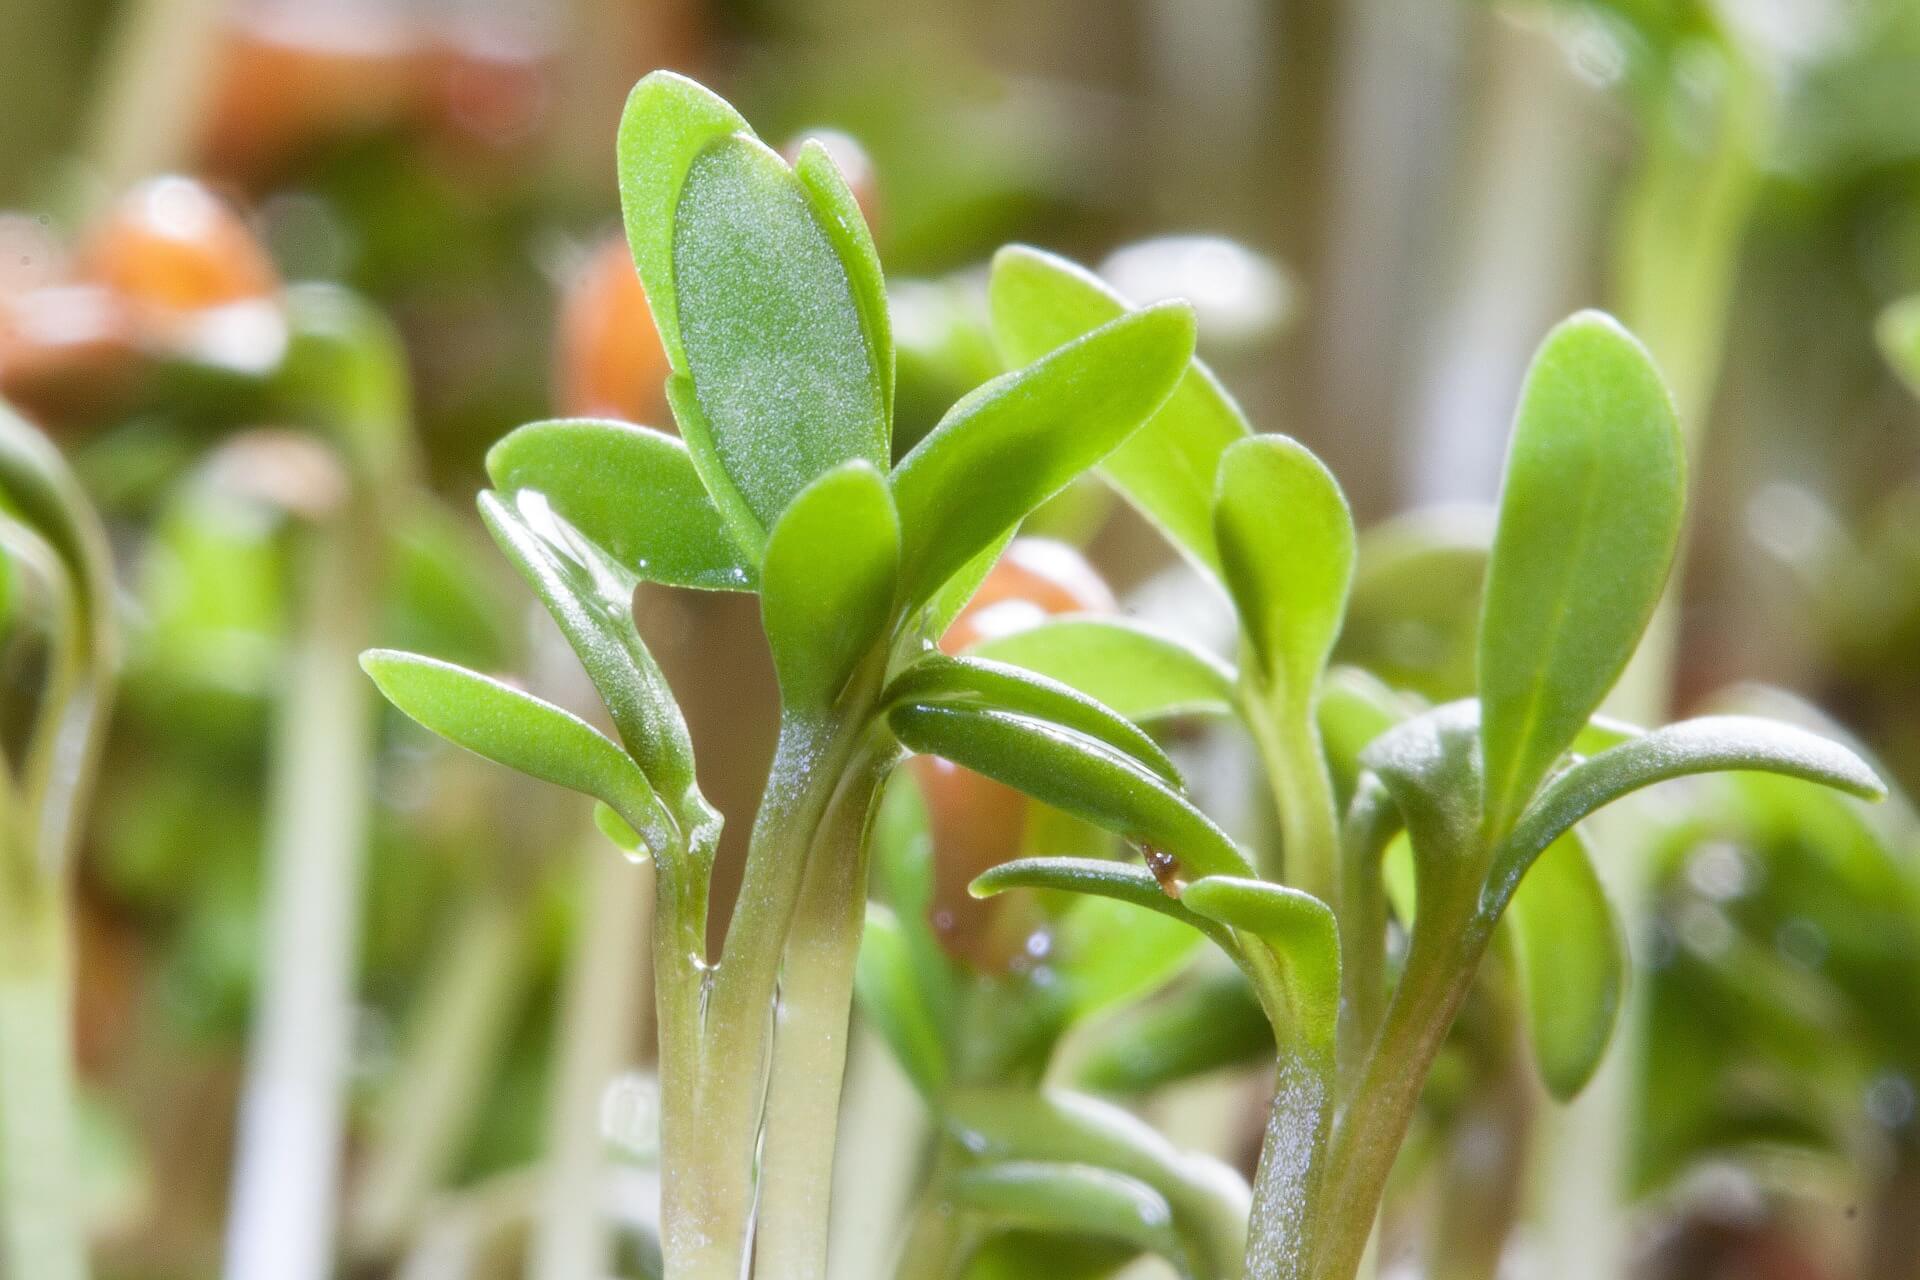
Fall planting time!
As the weather cools off, you can plant leafy-green seedlings in the empty spots of your garden to take advantage of the end of the season. We’ve been planting for […]
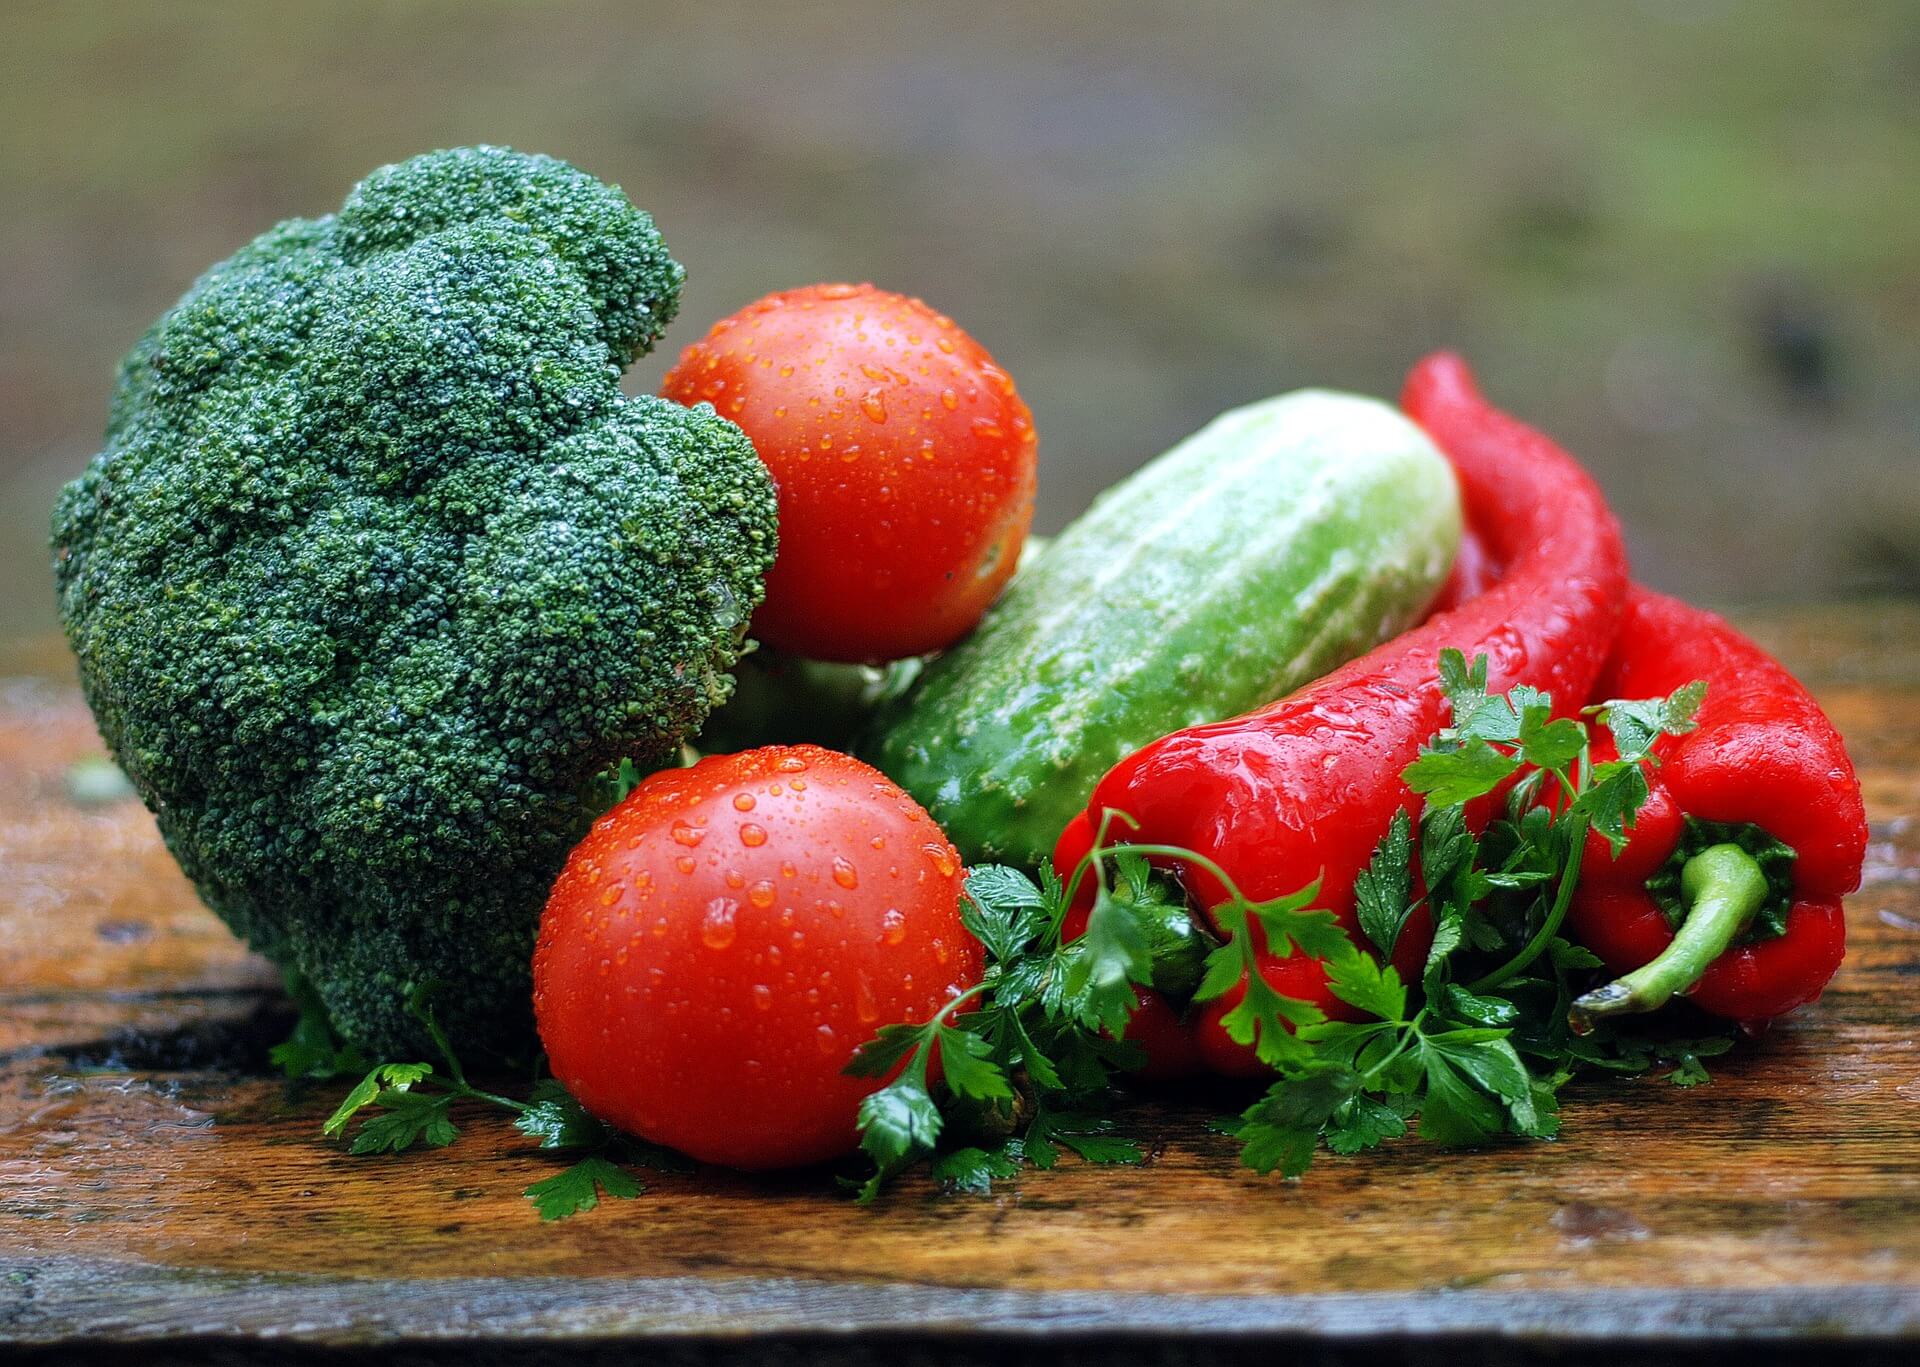
Enjoy those veggies!
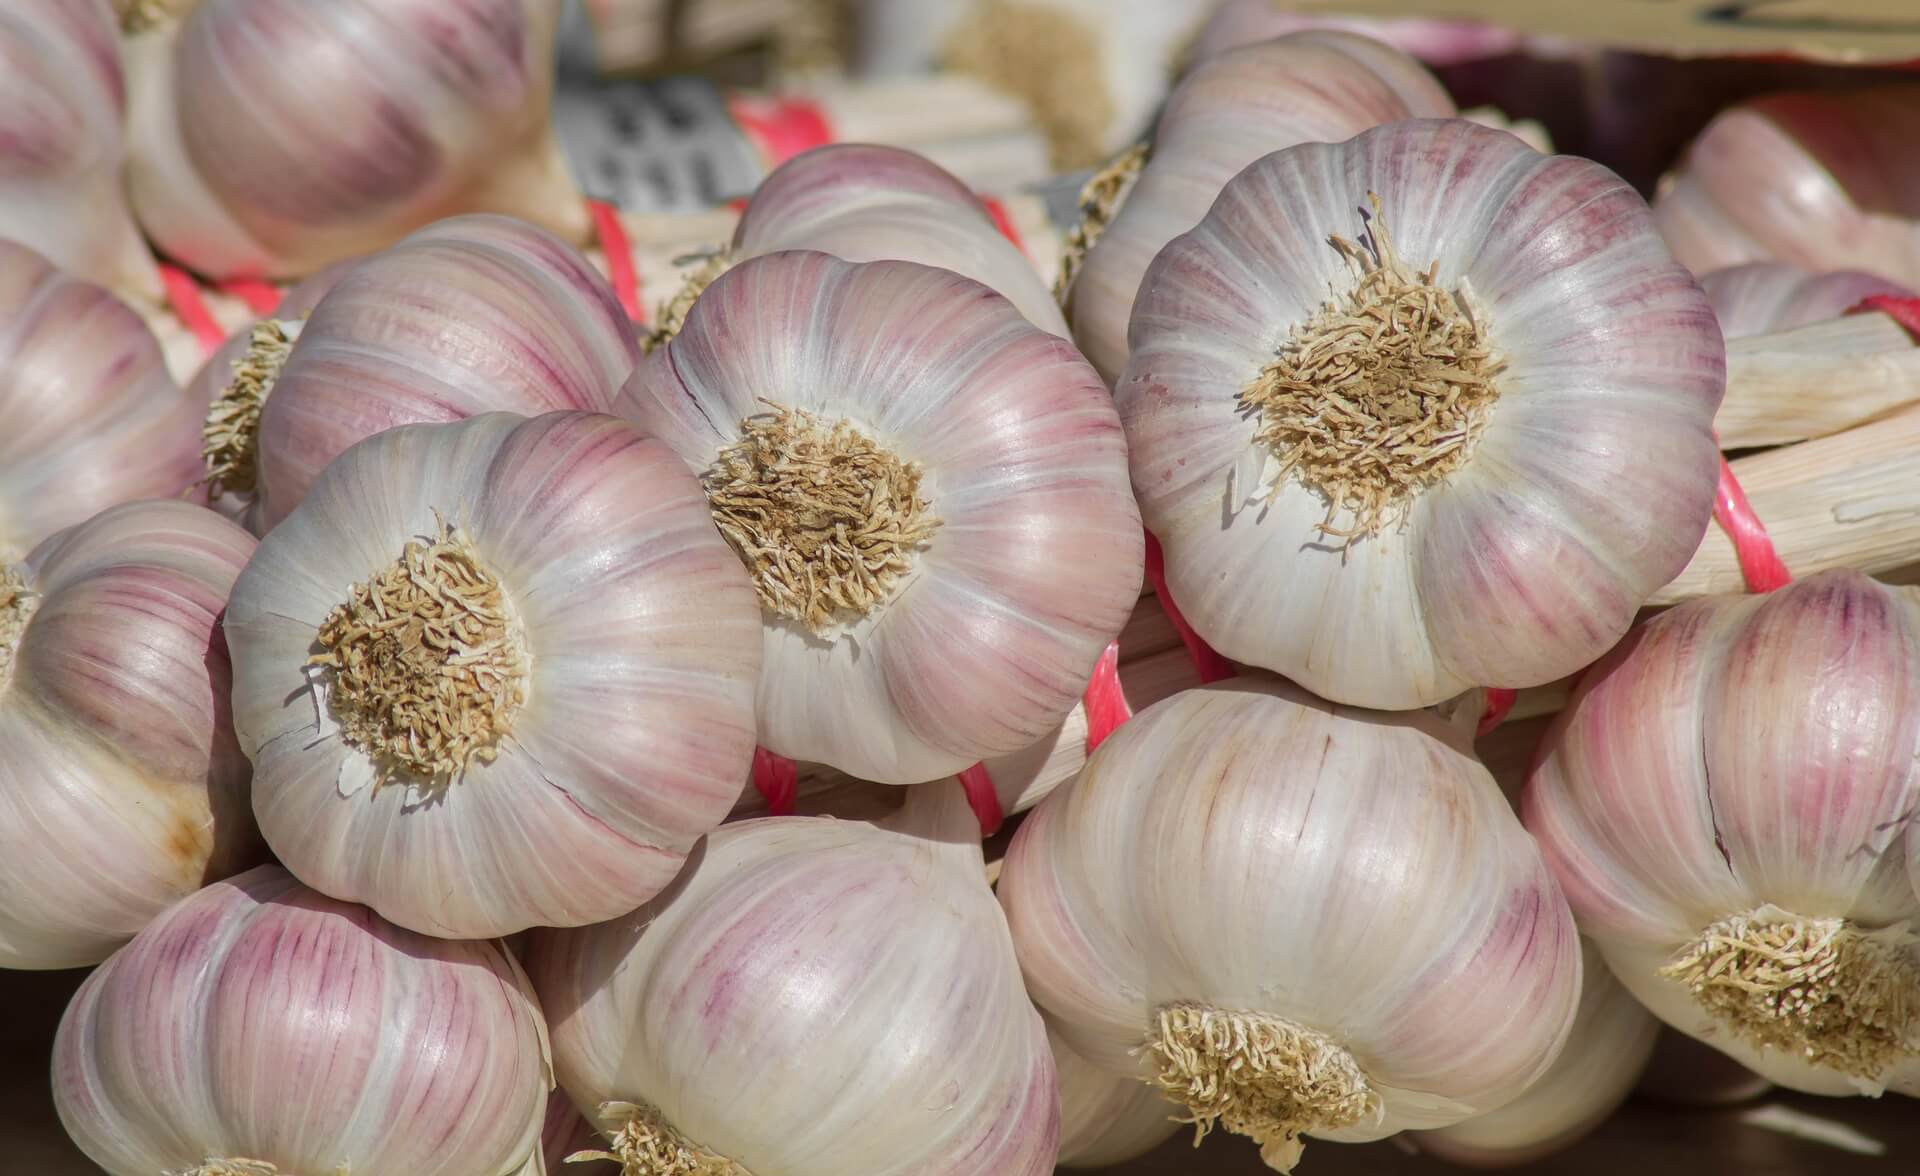
Continue to harvest as your crops are ready. Beets, carrots, garlic and onions all should start to be ready. Consult our article on harvesting root vegetables to get some tips. Don’t worry […]
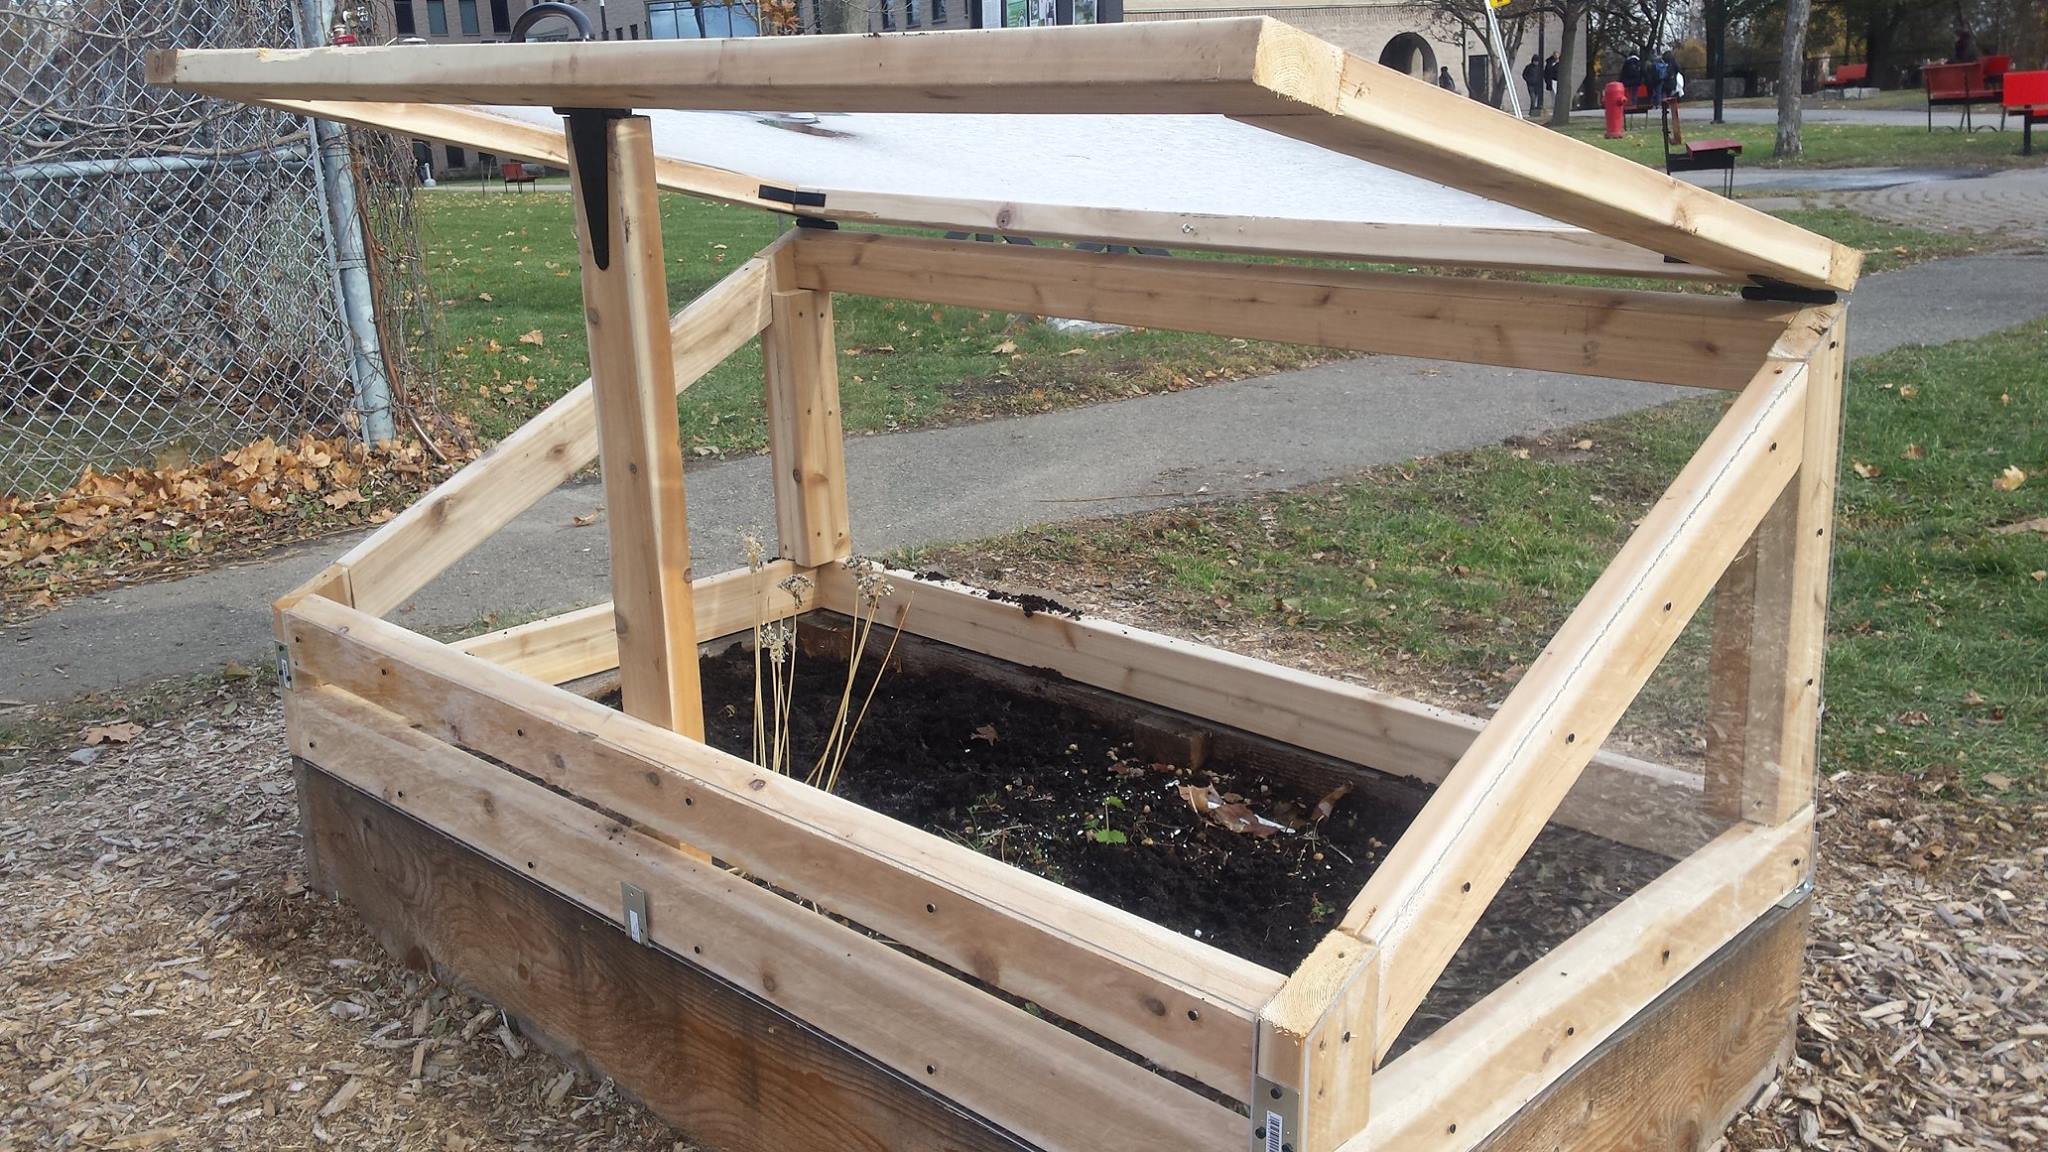
Winter gardening
There are a few ways that you can extend the gardening season. The Montreal gardening season is so short so why not explore some of these methods. First off, you […]
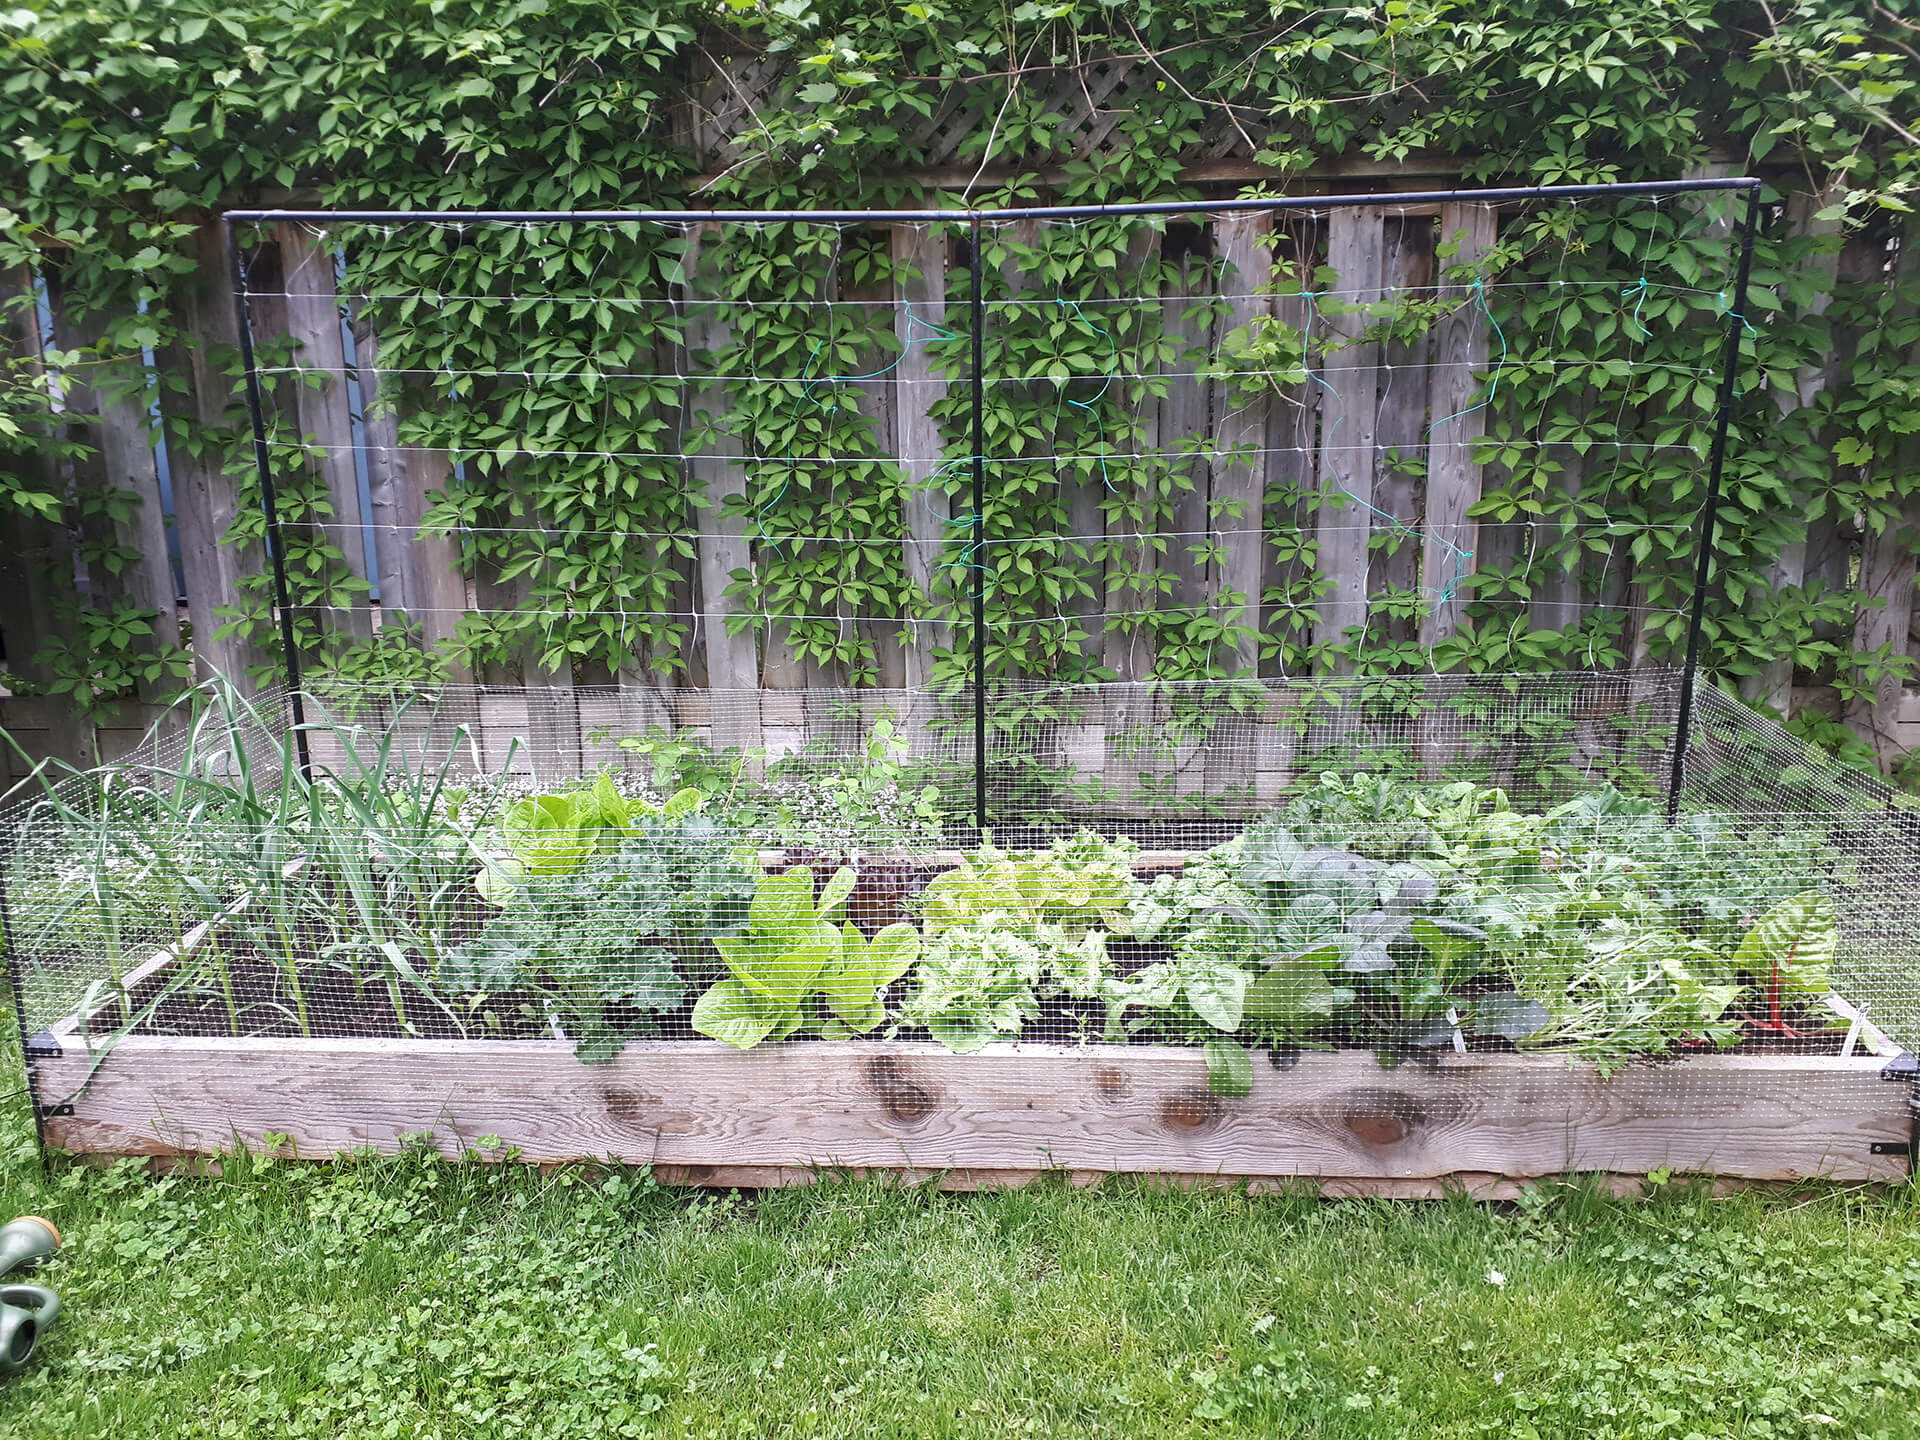
Why choose a raised bed?
There many reasons to choose a raised-bed. In our urban setting, spaces are small and building a raised bed that will be planted intensively is great way to dedicate a […]
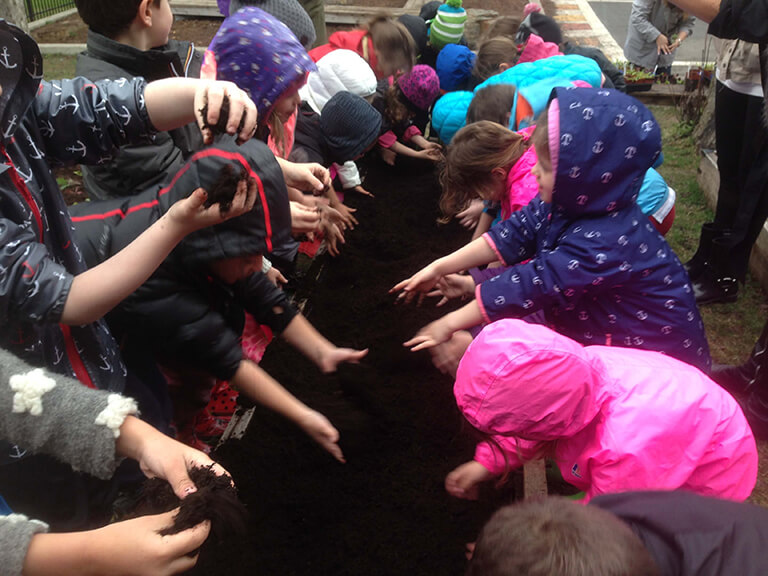
10 steps to a great schoolyard vegetable garden
Vegetable gardening is a great way to get kids outside and learning in nature! Not only do students learn how a plant grows, and where their food comes from, but […]
Why are my plants small?
Water – Vegetables need lots of water. It is important to stay on top of watering especially if we are having a warm summer. If you are balcony gardening, […]
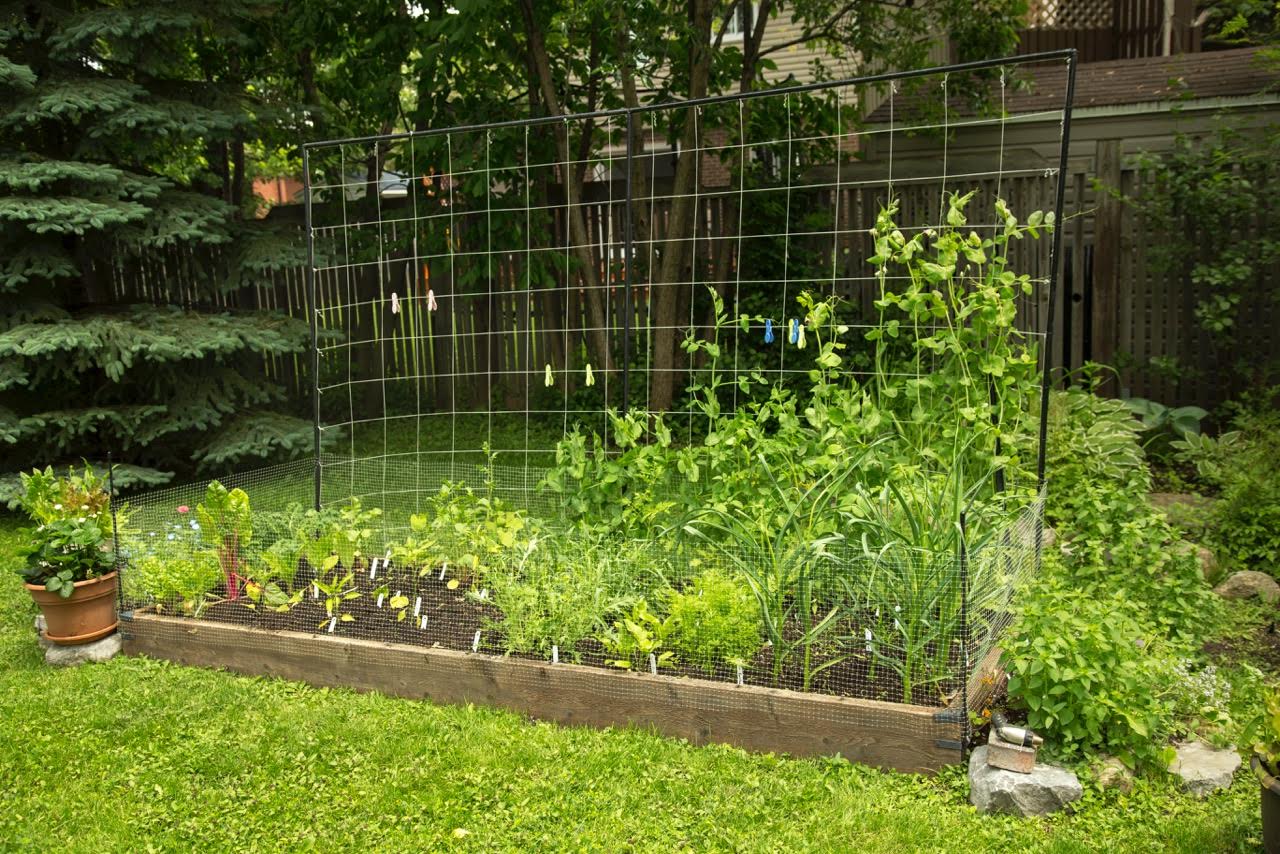
Cucumbers
Cucumbers require hot weather and lots of water! Once they take off cucumbers grow quickly. They are vining crops and require a trellis, stake or rope on which to grow. […]
5 easy vegetables to grow
New to urban agriculture? Looking to start growing some edibles on your balcony or in your yard? These are our favorite easy to grow vegetable for new urban gardeners. Kale […]